Technical Breakdown
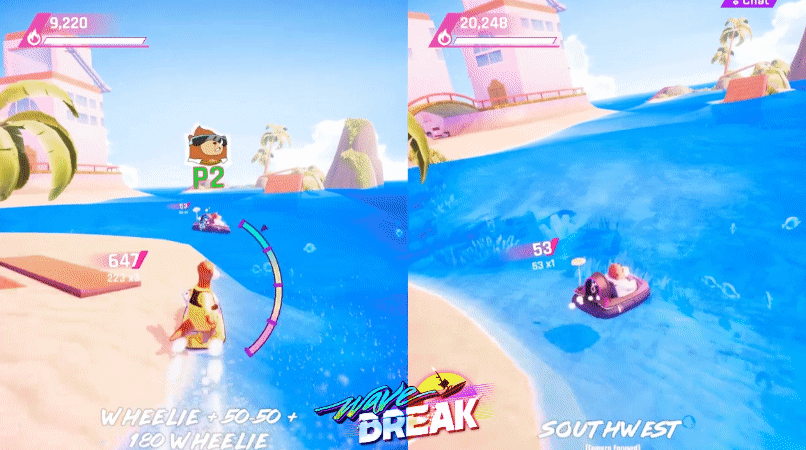
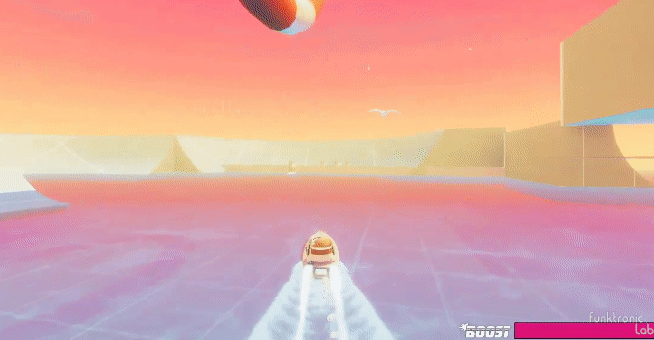
Hey, I’m Coty Getzelman, the lead engineer on Wave Break, the world’s first skateboating game, made in Unity! Wave Break is inspired by classic arcade skateboarding games, with a splash of boating, explosions, and cold-blooded murder.
Inspired by the water physics from Wave Race 64, I started reading a bunch of fluid sim physics papers and tried out many methods. However, the simplicity of Wave Race’s design still holds up to this day. Let’s talk about how we could scale this idea up for modern hardware.
I wanted the resolution of the wave sim to be such that a single “wave” could be smaller than a player, so that the wakes created by their driving would be in high detail. Getting this level of detail would require a lot of memory, and even now in 2020 this is way too much data to process on a CPU. Instead, We can take advantage of the massively parallel nature of a modern GPU. Unity has Compute Shaders, which will allow us to read and write to arbitrary buffers for this effect.

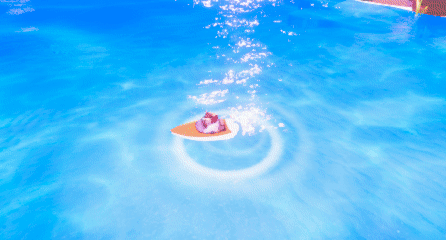
The core idea is to treat a water plane as a set of interconnected springs. For Wave Break, I set up a 2D RenderTexture, in which each pixel represents a spring state. With some simple math, you can get some spring-like behavior by passing the texture through a Compute Shader. In this example gif, the Compute Shader has each pixel sample it’s neighbor pixels and spring accordingly; this alone is enough to generate these nice ripple patterns.
Take that texture and blur it to get nice, smooth ripples. Spring + Blur starts looking like some convincing shallow waves!
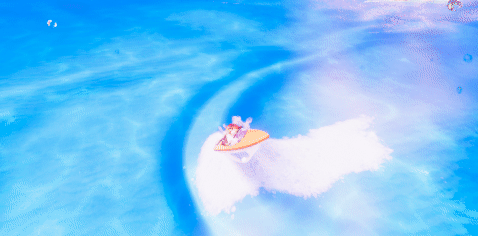
The very first pass of this looked like this! All that’s done here is combining that RenderTexture with a simple custom transparent shader, which samples the texture for offsetting vertices and using the length (current - previous) spring states of the pixel for detecting “foam”.
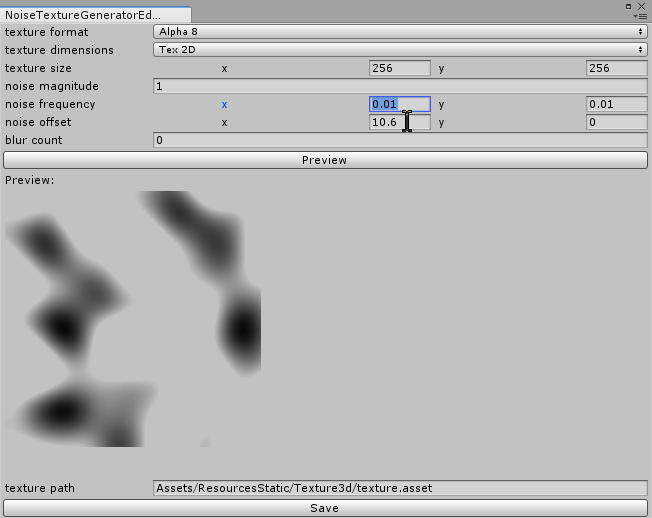
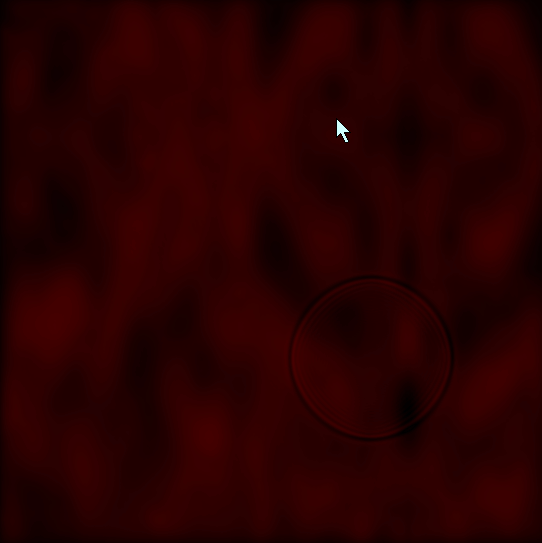
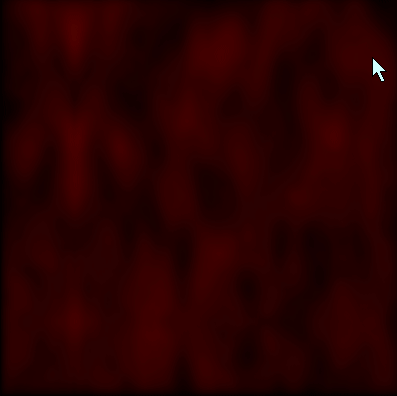
Obvious issue: the water is too still for ocean/lakes. We need to do a wind pass. We’ll need the world position of the vertex we want to apply wind to. For this world position, we can do the following. Take the current pixel’s (x,y) position, divided by the width and height of the wave texture to normalize into a 0-1 range, then shift over to (-1, 1) range to pretend it’s in the water plane’s transform’s local space, then use localToWorld matrix of the transform to convert it to world space. This allows shifting, rotating, and scaling while still getting the correct world position of a pixel in the RenderTexture. We can then pass the world position into a noise function. However, calling that noise function on every fragment would be pretty slow. Instead, it’s a better idea to create a noise texture!
Ripples are great for making wakes, but to make a really convincing ocean, you need wind, both by the shoreline and out to sea. So I made this simple unity editor tool for generating noise textures.
Combining the noise texture into the ripple texture results in this texture. Starting to look good!
With blurred ripples with wind, it looks like waves. Once we start rendering it, it is obvious that the foam is missing. I tried doing it dynamically in a fragment shader, but I wanted the foam to stick around, and it is kind of wasteful doing it for a lot of fragments at a higher resolution (4k?). Instead: allocate a dedicated foam RenderTexture. Also, we’ll need to create two Compute Shader kernels: one for generating foam from wave delta, one for fading foam over time.
On top of those two Compute Shaders passively generating foam based on the waves, we should also stamp to the foam texture when we write to the wave texture. For each wave sim step, I’m diffusing the foam while the ripple is happening. Afterwards, I combine these two textures, using the R channel for the waves and G channel for the foam.
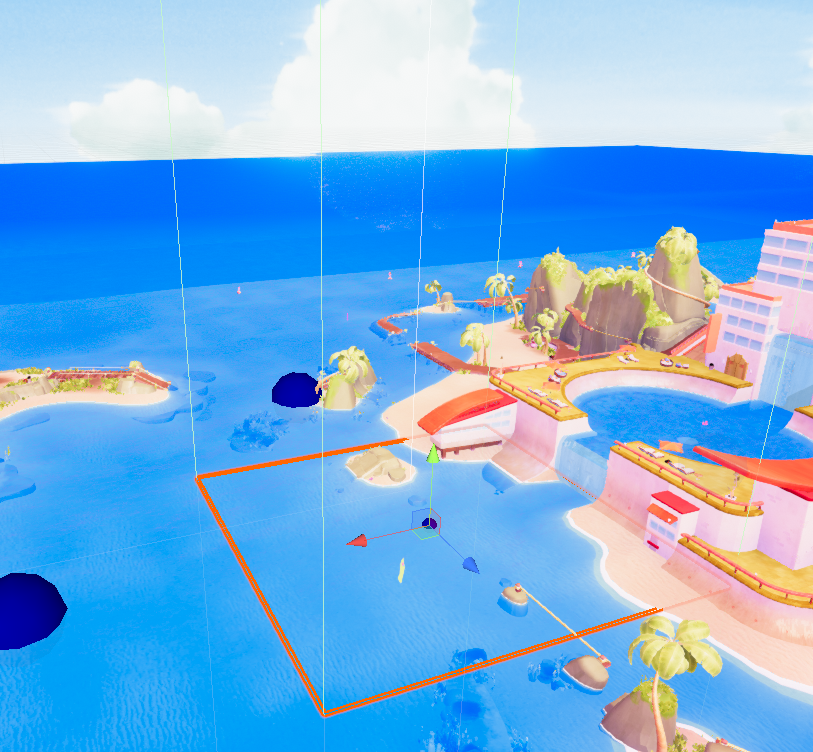
Water planes are placed in a grid, using blurred data for rendering. Unfortunately, this has very visible seams. Our blur is sampling neighbor pixels, but edge pixels were sampling themselves, because there is no info on their neighbor textures!
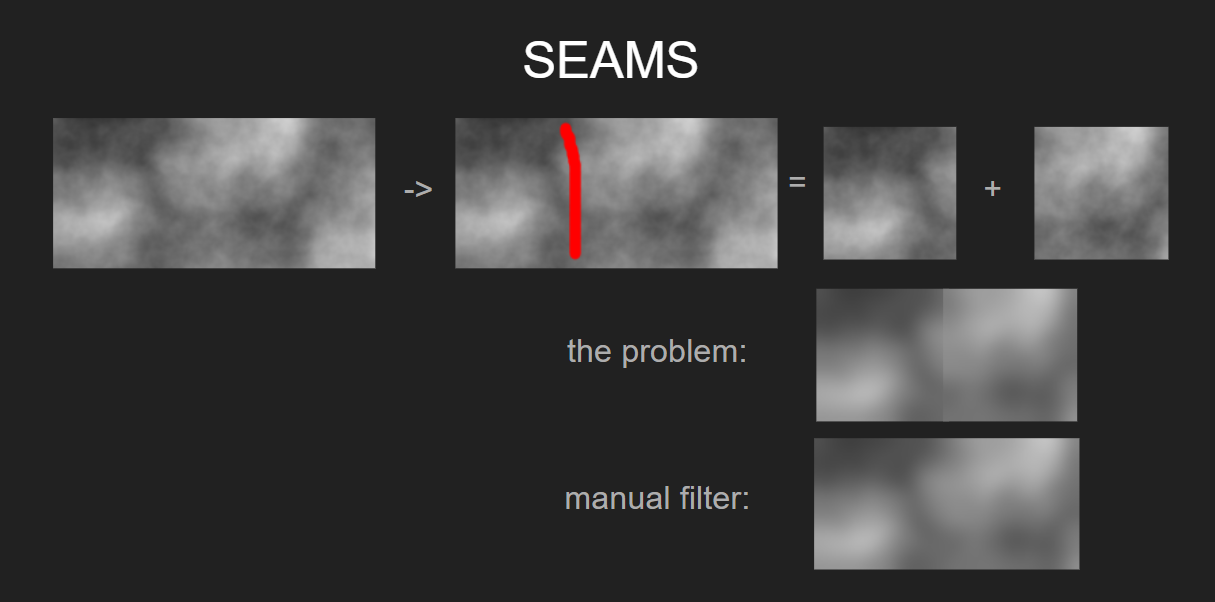
The next challenge is to get these textures in-game without seams. The blur effect is tricky, because if you only sample just one texture, you will generate seams around the edges which looks ugly in-game. Each fetch could check if it needs to use the neighbor textures, but that’s just way too slow. One solution is just splitting 1 blur kernel into 5, one for inside block and 4 for the outside edges. Fixed!
A similar problem occurs when rendering as well, as the fragment shader is billinearly interpolating the blur texture, because there is no info on neighboring textures. So, the shader will need to use a manual bilinear filter, but.. that’s also slow! To avoid shading in this way for most of the screen, I split up the water plane mesh into two meshes: an inside chunk and an outside strip of triangles. The two meshes have the same shader and material, but the outside edge has a material setting to toggle the shader keyword so it uses a shader variant to use a manual bilinear filter which combines neighboring textures. Whew!
Now that we have fixes, we can start rendering. I’m just doing a normal vert/frag shader, where the vertex pass moves verts based on blurred wave texture. But.. verts moved means the normals will be broken! To deal with this, I’m sampling the neighboring wave heights to calculate the new vertex normal, which gets passed to the fragment shader.
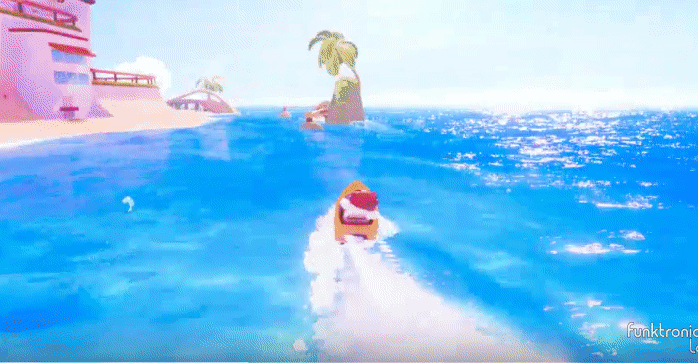
Lighting is typical N dot L diffuse, with some normals scaling and specular adjustments for that stylised feel. The fragment’s normals are shifted a bit by a “micro normals” texture, for added detail. Artists can adjust these micro normals to create the sparkles you see in the gif. The foam RenderTexture is sampled to use as a mask for an artist, who made a repeating foam texture.


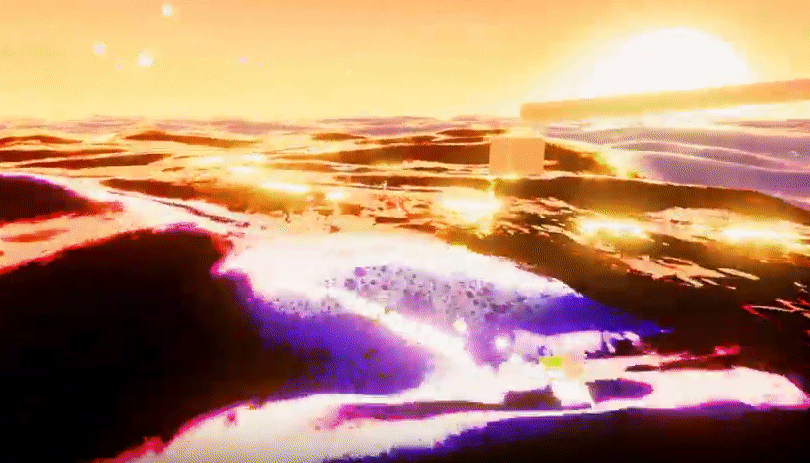
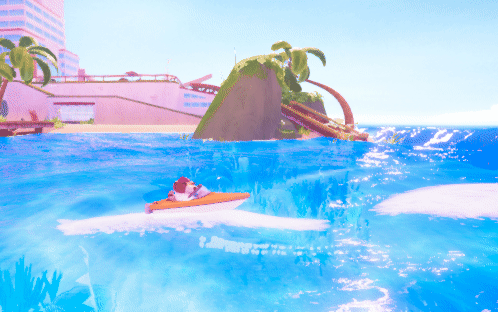
Here are some stylised examples of what is possible with this shader.
Wireframe is a typical wireframe shader, fragments know their distance from the edge of the triangle. The wire is lit up based on foam mask RT. Light is used to light entire triangles at once.
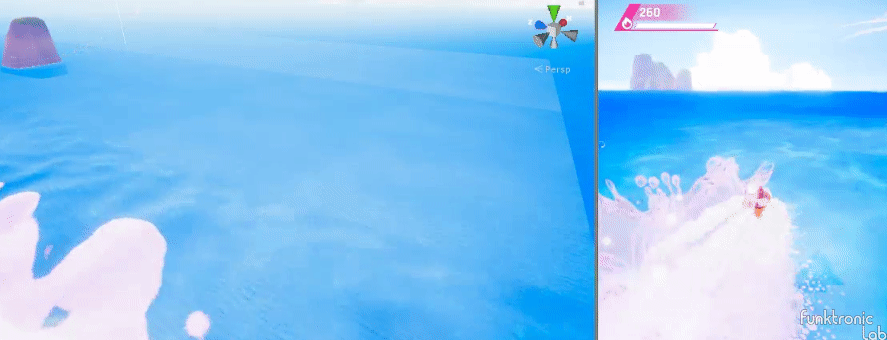
For gameplay, this water is only really useful if there’s two way coupling. This means, I want unity’s Rigidbodies to affect the water, and I want the water to affect the Rigidbodies!
To ramp off waves, I need to be able to get the wave height from the wave texture. The problem is, it’s not just some array to sample, it’s memory on the GPU. Latency from GPU -> CPU is no joke, so we need to be clever.
The water plane objects have a trigger to collect a list of touched “floatable” objects that need to query wave height. A List will be used to build a buffer of texture coordinates (made from taking world position -> local position -> uv position) to pass to a Compute Shader, which iterates over the texture and fills an output buffer with wave heights and calculated wave normals.
Using this method of passing a buffer of positions to a Compute Shader which does the handful of texture samples on the GPU, which are then returned to the CPU, allowing us to get the data we need to calculate buoyancy for hundreds of objects, if necessary, without a significant performance impact of waiting on a whole texture to come back to the CPU.
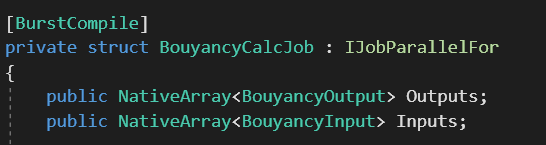
However, processing buoyancy math for hundreds of objects would still be slow; C# is bad at math. This is a good use of Unity’s Job System with the Burst Compiler. Buoyancy for multiple objects can be calculated in parallel, since they do not directly affect one another. The slowest part now is iterating over the results of the job, and calling the Rigidbody.AddForce functions.
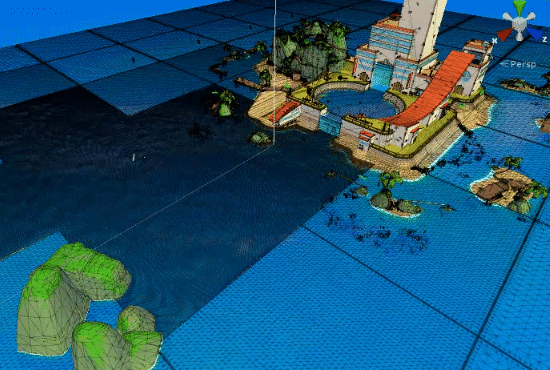
The Burst job is managed by another script which checks the water plane’s distance from the nearest cameras to LOD, to use for both physics and rendering.
Notice those high detail strips of triangles between the LODs? Remember when I mentioned we would need a strip of triangles for the manual bilinear filter which samples nearby textures along the edges? That’s what that is!
The core of the wave system is complete, the rest is polish!
Here’s a question. At what time step do we want to run the physics sim? Every frame would make water move super fast, but a fixed timestep makes it look like a slideshow.
Solution: time travel?!
I keep the previous wave texture around, and linearly interpolate between the last physics tick’s texture and current, based on how much time has passed since the last physics step. Because our method is so resolution dependent, we can adjust our timescale based on quality settings in-game. Half the resolution wave sim in quality settings? Then we can also halve the time-step! Huge performance savings for lower quality settings!
Bonus: This lets us have slow motion waves by just changing the timescale variable in unity!
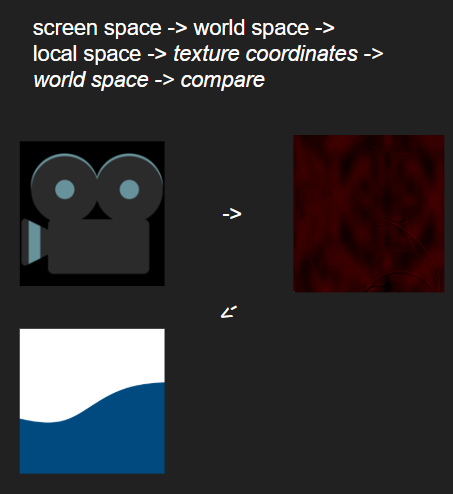
Post process, for most games, is just comparing screen position converted to world position to the water plane’s position/normal. More complex water in most games only calculates the world position of water by using the same wave function the vertex pass of the water is using. Ours isn’t so simple; we need to go from screen space to world space to local space to texture space, get value, back to world space for comparison. We just generate one matrix by multiplying all these matrices together on the CPU, and pass to the post process shader so it’s only one multiple away from the correct position.
That’s it! Any questions? You can hit me up.
- Email: coty@funktroniclabs.com
- Twitter: @cotycrg
And be sure to check out our game!
- Website: wavebreakgame.com
- Twitter: @WaveBreakGame
- Discord: discord.gg/funktroniclabs
Thanks for reading!